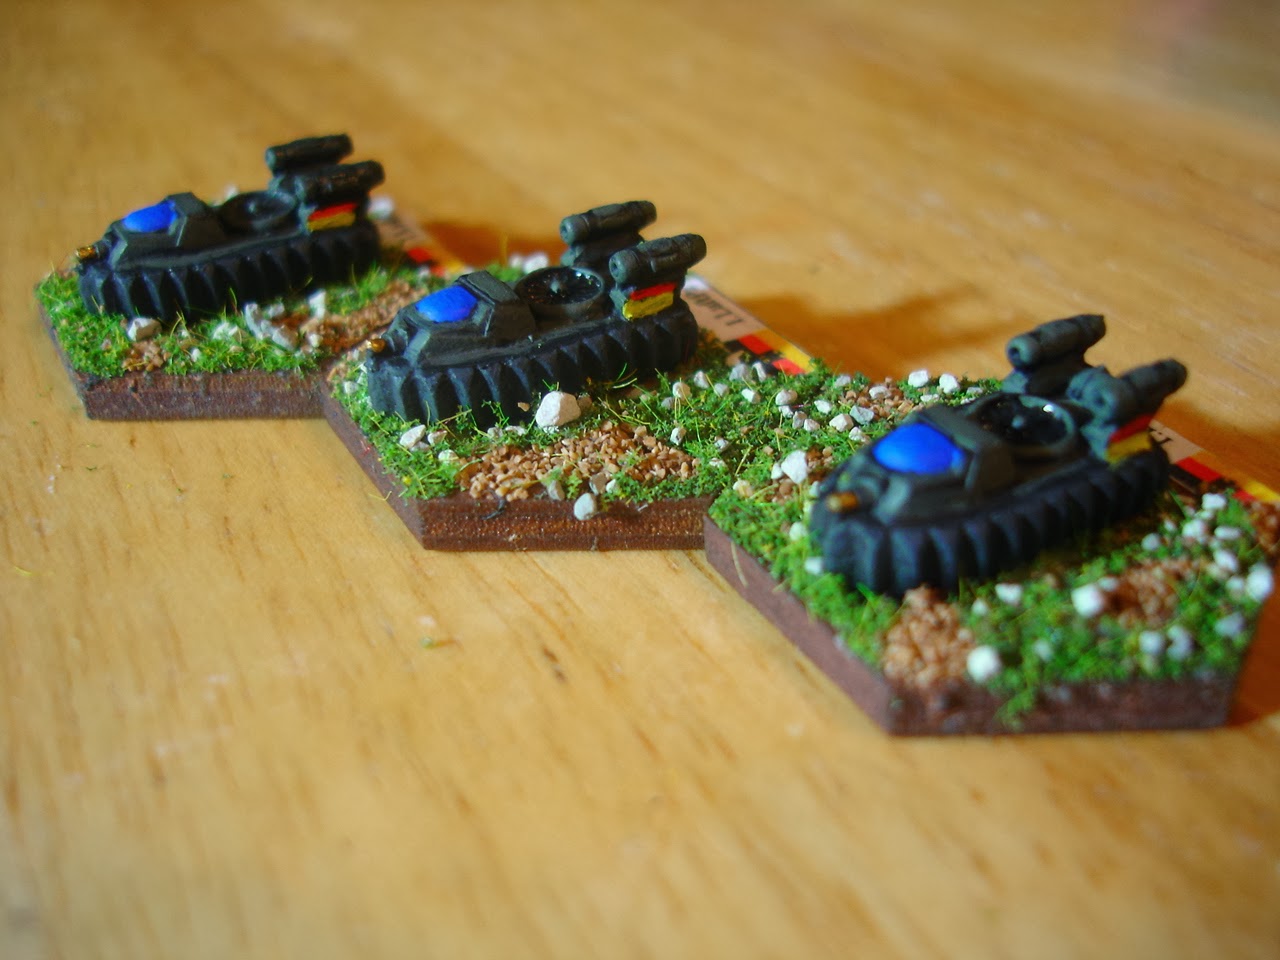
- Martians need more points to offset European gangup.
- Scarabs need to move a flat d10", not d10-2. For four turns in a row, the scarabs did not move at all. This cuts the pressure on the Europeans to get moving!
I have a rather... unfocused approach to my various gaming interests. I roleplay, wargame, paint and collect minis.
Saturday, July 13, 2019
AAR: The Scarab Plague of Mars!
Wednesday, October 11, 2017
Red Vectors Martian Skiff
Saturday, April 8, 2017
Martian Skyship, Part 1
- Sails: Lateen rigged, will cut the sail from some heavy paper, maybe some of that scrapbooking stuff, especially if it has a nice pattern on both sides. Rigging from white cotton thread.
- Ship's wheel: both Eureka and Houston's Ships make nice ones. Leaning towards Houston's because of the next item...
- Guns: I want at least a pair of swivel guns on the railings, and a heavier gun either in the bow on a raised carriage/slide, or in the waist with perhaps a pivot mount. Houston's makes some that are specifically for VSF aliens that are strangely reminiscent of designs in 1889.
- Flight Base: Not sure. I can custom build one, I suppose. I don't like how the champagne glass stand turned out, so I will be trying something else. Probably some thick brass wire. But it will need to have either a wide or a heavy base underneath for stability.
- Transportation: They are getting their very own trays and custom pluck foam. I may need two trays, one for each hull or one for the hulls and one for the sails. I am going to leave the masts removable, maybe magnetized.
Sunday, January 15, 2017
Upgrading Mars...
At Christmas a couple of things I did obtain that are noteworthy for gaming was some new terrain. GF9 finally re-released their popular Badlands series of terrain, and I got two boxes for Christmas: the Plateau and the Tors. These will fit nicely in as Martian desert terrain, I think, and the best part is they are ready out of the box. I also ordered the Badlands Bluff a few days ago from Amazon to help fill in space. Of course, I can probably also use these as desert rocks for WWII gaming as well.
Tuesday, December 31, 2013
Last new material of 2013.
Wednesday, February 10, 2010
Unobtainite At Last!
Here is the result: a massive mockery of Man in mechanical menace! Note the massive galvanic collector coils mounted on the giant's back. They supply power the matched pair of magnetic disruptor cannons which replace the infernal device's arms.
The photostat presented here was taken by Miss Eugenia P. Whistlebum during her brief but unwilling stay with the Belgian Madman. Miss Whistlebum smuggled the exposed photostatic plate out of the fiend's lair under her petticoat bustle when she was released following the undisclosed but reportedly very hefty ransom paid by her father, her fiancee and her future father-in-law.
Saturday, February 6, 2010
Achtung! Panzer!
Monday, January 25, 2010
Great Rebasing Project of 2010
You see, I have, over the past two or three years, changed the material used for Martian bases at least three times. I now sit in a position where I believe the best bases are the most recent ones, and I am so happy with them that I am going to change all of the bases to match.
To my count, that means just over 200 bases need to be fixed.
Most will be simple: layer of PVA and then put in the basing mix. Allow to dry, then spraycoat with matte lacquer for extra adhesion.
The count so far: 18 down, 190 to go!
Weekend Progress
The Papal States vessels of the Italian Confederation Combined Aeronavy are almost done, even with the changes I made to the paint scheme. All that is left is one cruiser that needs a bit of detailing and a dig battleship that needs touchup. Then all eight vessels are off to be clearcoated.
Also got a good deal of work done on the 15mm Luftschiffetruppen. All that is left is basing on a few (six or so) and then clearcoating. Mark this unit down as 90% complete. Pictures later this week.
I am also in the process of rebasing many of my Mars-based units to a standard style. I did both Sentinels and several other figures (15 in all).
So, with only one weekend left in the month, I am skeptical about meeting my monthly goal. The Zulus are taken care of, though not finished yet. The Nefs are going pretty well, and the Luftschiffetruppen. But I got to get on those ferals!
Oh well. Must sleep now.
Saturday, January 23, 2010
Monthly Goal Update
- 40x 15mm Zulus [Stone Mountain]: Mailed to painter. I realized I want the troops, but I don't want to paint them. New painter this time; I'll review the work when I receive the minis.
- 20x 15mm Luftschiffetruppen [Old Glory]: 80% done. Touchup, basing, and clear coat.
- 10x 25mm Feral Martians [RAFM]: 40% done.
- Aeronef Papal Fleet [Brigade Models]: Total of six ships. About 60% done. I made some alterations to the fleet paint scheme that need to be redone on several ships.
- GW Mordian Lascannon and crew. No gunshield. Repaint and fit with 19th C. field gun wheels.
- Parroom Station Clockwork Soldier (NIB). New 'recruit' for Maton.
- Armorcast Gothic Laboratory Power Generator. Power for the Lascannon.
- 20x Copplestone Castings German Colonial Marines. Destined to be Luftschiffetruppen.
- Wyrd Miniatures's Malifaux Brass Arachnid. Nice and big, suitably menacing for Dr. Maton.
- 16x 25mm Japanese cavalry (Russo-Japanese), painted
- 17x 25mm Japanese infantry (Russo-Japanese), painted
- 2x 25mm Japanese artillery, w/ 4 crew (RJW), painted
- GW WFB Lizardmen Stegadon (5 ed.) - only $10! Gex in the howdah... a fearsome weapon on Venus!
- 3x GW Imperial Guard Praetorians with lasguns. Most poses would be okay.
- 1x GW Imperial Guard Praetorian Sergeant, with the powersword.
- 2x GW Imperial Guard Praetorian missile loaders
- GW Imperial Guard Praetorian heavy weapons (especially heavy bolter and autocannon)
- Wargames Foundry Victorian Special "Dr. Jekyll". I will probably order today from Foundry, but at $10.50 for one figure, it hurts!
- A boat to convert to a Martian 'kite'
- And more... always more... *sigh*
Sunday, November 15, 2009
Tiny Towns!

From high above the Martian city of Gwalli-Andor, at night. The town is quite dark.

The villa of Kez Ra Tohnassi, the wealthiest merchant prince in Gwalli-Andor.

The Tower of Righteous Harmony and Conduct, a cross between city hall, royal palace and a temple.
All of these magnificent vistas were photostattted by our Lead Correspondent, Mr. Eli Arndt. He took the photostats from the highest of altitudes aboard a native kiteship. You can see the acres of shining white kur plants, whose fibers make an astonishingly sturdy fabric, lightwieght and airy. Something like a cross between cotton and silk, it is one of the staples of Martian dress.
Wednesday, November 11, 2009
Martian Construction Projects
Friday, July 24, 2009
Regarding Historicon Poll vs. Purchases
So, let's compare that to what I bought at Historicon.
As far as Martians go, all I purchased was a box of High Martians (the flying guys) [RAFM]. My son also bought some Mage Knight cannons that will probably be pressed into Martian service, as they are sort of primitive looking and bulky and just look 'right.'
For the Masked Minions, I purchased a 4 figure gun crew [Parroom Station]. I also bought a Smoke Launcher [Parroom Station] for them to crew. The gun may be used by others, of course. And it may not always be a Smoke launcher. Suppose I need rules for the poisonous cloud that it fires off. Maybe a blast template that wanders with the wind? Green-sprayed battening on an old CD base? Bears thinking about.
For our third place contestant, the Germans, I bought infantry and a massive artillery piece. Again, the artillery piece could be used by anyone, really. It is the Steampunk Cannon [JR Miniatures]. Having a stubby, mortar-like appearance, I also want to make a barrel extension for it (removable, of course) so that it can be made to look like a big fortress piece. Shouldn't be too difficult, as the barrel of the original mortar is tapped quite deeply. I'll explain my idea for it when I get around to doing it. The infantry I chose were the Prussian infantry of Parroom Station.
Saturday, July 18, 2009
Historicon, Day Two...
Friday, July 10, 2009
Masked Minions Unveiled!
Friday, June 19, 2009
Abandoned Martian City Found!

Famed archaeologist Cacique Caribe of the University of TMP has identified this location for us. You can see more inspirational work by the same artist at this location.
[Editor's Note: Now THAT'S how you do a Martian canal city. I only wish I would ever have the time, talent and treasure to spend on creating something that modeled this in 15mm. Wow. But it is an incredible inspiration piece, and makes me happier with the row houses I have been building off and on for a Martian canal city. At some point, I have to do the canals themselves.]
Thursday, June 11, 2009
Minor Clash Last Night
Saturday, June 6, 2009
Martian Rocks and Terrain
My most recently completed piece is this cave. While it won't be used in the Historicon scenario, everyone needs a good cave or two, and it serves as a learning piece for something that will be in the scenario: a mine entry.
Details on construction and more photos of these pieces and others can be found on my terrain blog, Gaming Terrain.
Wednesday, June 3, 2009
The Hills of Mars...
I have a hot-wire foam cutter, a cheapie I got at Hobby Lobby a couple of years back for $10, I think. That's what I am using to shape the pieces, cut smooth bevels for the hillsides, rough faces for cliff sides, that sort of thing.
I'm also using spray adhesive. Sounds a little crazy, I admit, but it seems to hold like cement and doesn't eat the foam. This way I can stack multiple layers for more impressive rock outcrops and hills.
So I cut the foam to the shape I want using the hotwire. Then I glue the layers together. So far so good.
The next step is painting. I found some black latex wall paint I had leftover from a DIY project, so I used that. Painted it on the foam, let it dry. Now when I spray paint the colors on the foam, the foam doesn't dissolve away!
Finally, once the black is dry, I hit the foam with three colors of spray in at least two layers of each color. You don't have to wait for each layer to dry - I like the mixed look, it seems more natural.
I'll post pictures once I get some decent lighting. I tried to take a few shots tonight, but... too dark.